Tampilkan postingan dengan label "During" Project. Tampilkan semua postingan

Wallpaper, Wallpaper, On The Wall...

Posted by sew4tejhtr6ier Sabtu, 12 Oktober 2013 0 komentar
Mmmmnnnooooggrrrrbleghhh. Oh hey... sorry about that. I was just looking over the bathrooms in my house and eeeggghhh...huh there I go again. I've been putting off these two bathroom spaces for 2 years because of the wallpaper. No, it's not that it will be that difficult to remove it, it's just that I hate removing wallpaper. I moved here from a house that had 3-5 layers of old outdated wallpaper on every single wall surface. Yes, I said 3-5 layers on EVERY SINGLE WALL! I spent 5 years peeling wallpaper so I am NOT fond of it! After moving into this house, I decided to take a couple years off *wry grin*. Well, at least I can say I have learned a few things about wallpaper removal. Let me tell you, I have done it all... it took a while but I finally came to the conclusion that the simple method is the best.
I can't avoid it any longer, the girls bathroom is especially in need of a little TLC. So I thought I'd take this opportunity to share what I have learned about wallpaper removal while I prep my two bathrooms for painting.

No More Gimmicks
Nothing is more frustrating than spending money believing a product that promises easy and effective result but to no avail. One thing I have learned after trying professional steamers, and myriad of sprays and goo, is that they all have their own unique type of hassle. The reality is that good wallpaper removal can't be guaranteed, the success of removal all depends on the age and type of the wallpaper, and the condition of the wall beneath. No matter what method you use, if something bad is going to happen, none of these methods will prevent it. I figure if you are going to have to pick your poison anyway, and what will be will be, why bother spend the money? Might as well use a free method... 

The Free & Simple Method
I use a spray bottle with warm water, and a taping knife as a scraper. Wait, let me show you...


This may seem overly simple, but it turns out that it produces the same good results on easy peel wallpaper, and the same set of frustrations with old wallpaper or badly primed walls. It's all about learning how to tell what you are up against before peeling, or what to do when the going gets tough. 


You Never Know What You'll Find
Wallpaper removal is a gamble. You might discover multiple layers, with each layer getting older and harder to remove, or it might turn out to be a breeze! Just know that if you decide to remove your existing wallpaper you may have to deal with more than you bargained for.
The best you can do to "check" is use an exacto knife to score the wallpaper near an out-of-the-way corner, and gently peel back that scored segment. If the wall is primed and painted underneath you are likely to have a quick and easy removal. If there is a second layer of old wallpaper without a plasticy substance, or the wall is not painted, you might risk pulling off pieces of drywall, or bubbling of the wall surface.


Avoiding Removal
If you hate your wallpaper, but don't want the hassle of removing it, you do have options... 

Paint Over It: If the seams are tight well done seams, and there is no bubbling of the paper, you can use an oil-based primer to paint over your wallpaper. Be sure to use a brand that is not too "wet" (or at least leave the primer open for a few days to thicken up) otherwise you might create bubbles or unwanted texture that will show up when your top coat dries. 
Wide Seam Tip: If your seams are a little further apart than you like, and you are good at mudding, you can fill in gaps in seams with just the tiniest bit of plaster. 

Paper Over It: I hate the idea of making more layers of wallpaper, but there are times when it is merited. In these cases be sure place your seams fairly close to where the original seams are. Unless the old wallpaper seams are flawless, they can show through the second layer of wallpaper once the glue dries...better safe than sorry.

Solving Paper Removal Problems

Peeling Dry Wall: I hope your mudding is good. *grin* There isn't much that can be done besides mudding over the peeled areas...short of papering over your mishap.

Bubbling Paint: Perhaps the dry wall isn't peeling, but it seems as if paint is bubbling and peeling with each piece of paper you pull off the wall. It may be a flat paint, or it may be that it isn't painted at all. Either way, allow it to dry thoroughly, then use dry wall sandpaper to sand the peeled edges. In some cases that will take care of it, in others you may have to use a light coat of plaster and mud around the edges to hide any irregularities. 

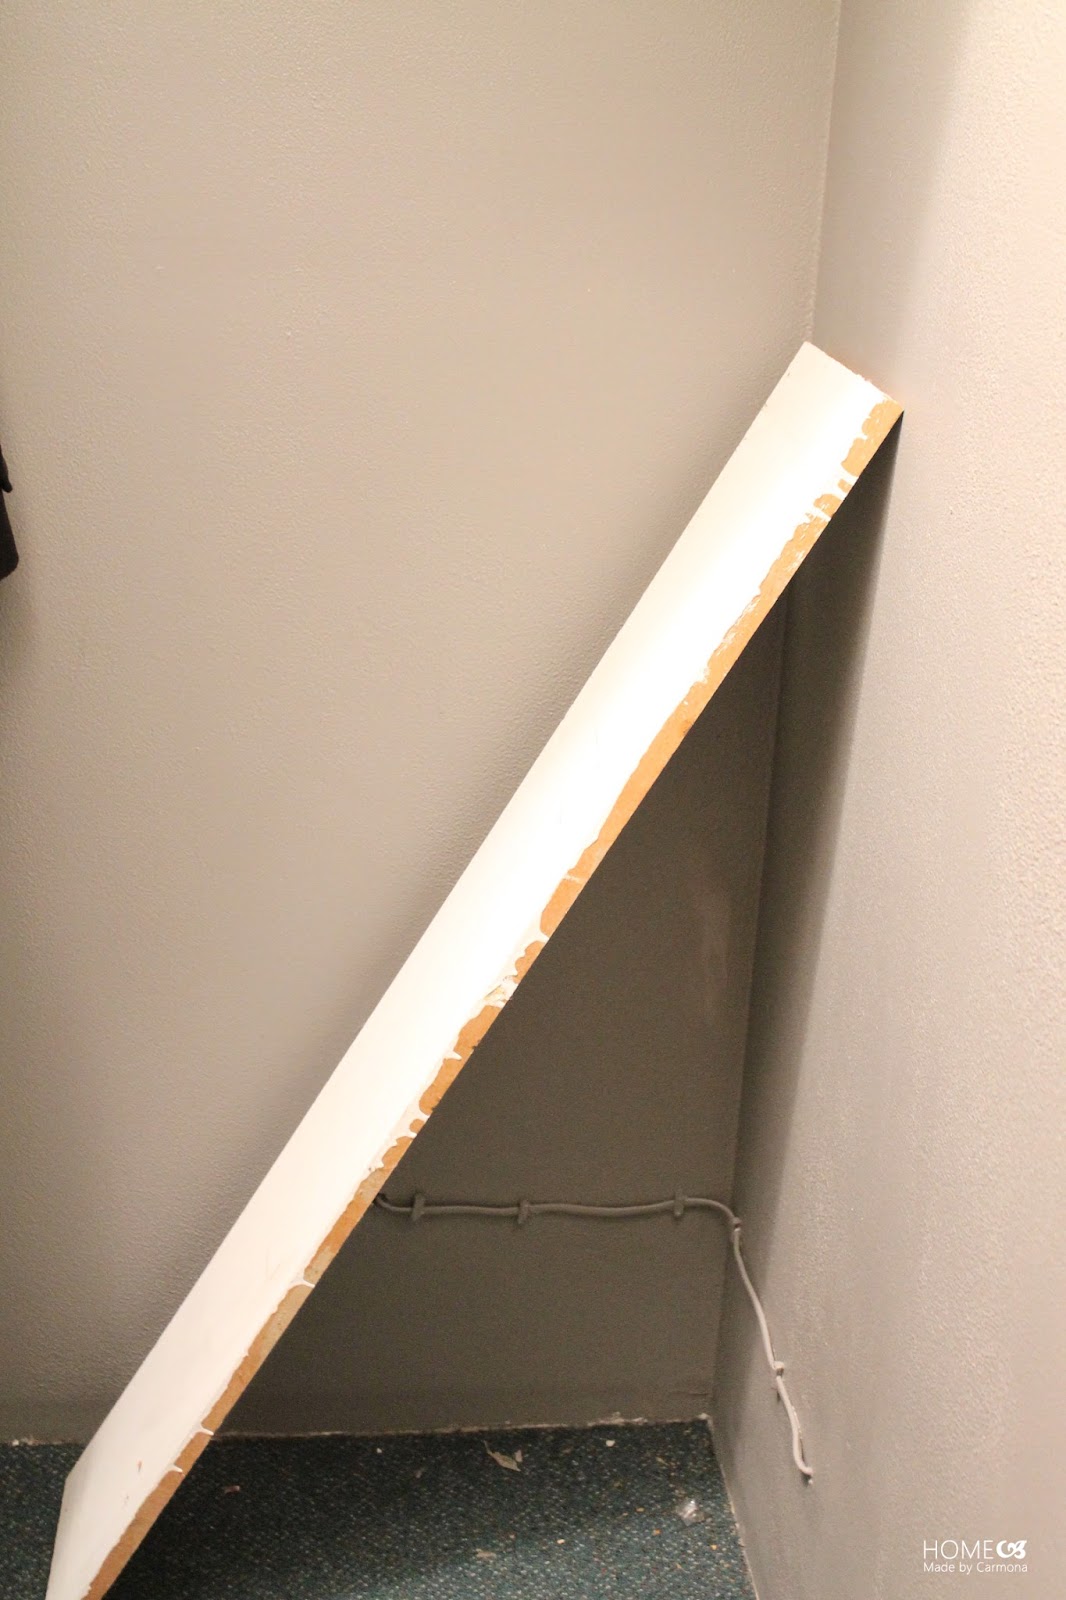
How to Remove Paper Around Impediments: Bathrooms particularly can be difficult to remove wallpaper from because of all the impediments; the toilet gets in the way, the light fixture, the vanity, towel bars, etc. Rather than removing every fixture, lightly score around these items using an exacto knife before peeling back the wallpaper around it. 


Good luck with your wallpaper removal! I hope your experience is smoother going than mine! *wink*

Baca Selengkapnya ....

Creating An Ideal Coat Closet Layout

Posted by sew4tejhtr6ier Jumat, 06 September 2013 0 komentar
Well, my coat closet is officially underway! I can't wait to start decorating and organizing it...but ok, let me not jump the gun. I should probably start by getting the closet layout complete, and maybe get a paint job in. This closet has got to work for me baby! I want our exodus from the house every morning to be positively seamless, and I'm counting on this coat closet to make it so. *giggle* Think I'm asking too much of a room? Yeah, ok maybe, but a mom's gotta try! 
  
Closet Accessories
Most people start a room with a piece of fabric for inspiration, or even a great piece of furniture. What do you start with for a coat closet? A nice coat? Well call me unconventional, but I find baskets inspirational for organization as well as design. I might have gotten a little lightheaded with happiness and excitement when I saw that these dark woven baskets from JoAnn Fabric store were 50% off! Then add a 30% off coupon from Michael's (an accepted competitors coupon that included sale items), and I was complete. I paid $2 and change each per basket, and I could just envision them set against a beautiful blue-grey wall on a shelf somewhere. Inspiration, set, match.


First Things First...
Clearing out this awful closet and simplifying is first on my list. Yep, that means donating old coats we never use. I was horrified to try on two of these coat and realize I couldn't even button it! Shucks, the hubs and I could stand to lose some weight, in the meantime, the coats can't stay here...I might as well be realistic, I'll never be 21 again. 


Next a Coat of Paint...
No coat puns intended. *corny...roll of the eyes*
As usual I'm pinching my pennies, so I  decided to dip into my "already haves". Some time ago I found two gallons of this Walmart paint in the 'oops/discount paint' section and snatched it up. It cost $8 (as opposed to the usual $16) per gallon, and I figured I could tweak the color if necessary. Now I had a place for it to go! (Ok, so I may have already used most of it in the master bathroom and garage...)


I wish I'd taken a better pic to show you the full paint job. I decided to paint the bottom 3/4 of the closet and leave it white above the shelf support.


An Effective Layout
I hate how things seem to get lost in the coat closet Bermuda triangle of doom. The double wide, double deep shelves above my hanging bar cause items to disappear into the murky darkness behind, never to be seen or heard from again. Ok, maybe a bit melodramatic, but you get the idea, if I can't see or reach the stuff that gets pushed to the back of the shelf, then it isn't organized. At a minimum, I need to be able to see what is back there.


My solution? Remove one of the two shelves that make it deep, and relocate it to that useless space looming above. At least now I can store items never used where I can see and remember they are there. 


I added two wooden supports to either side of the closet to hold up the new 2nd shelf above. I may have cut corners a little...no, I mean literally cut corners. See how the wood doesn't actually reach the back wall? A hazard of using leftover wood from other projects. However, I tested it extensively and determined it would do the job more than adequately. A coat or two of white paint finishes up my new shelving.


Shoe Shelf
Of course, shelves above are fantastic, but lets not forget the shelves below. A great spot to stack shoes, always necessary in my house! 
I happen to have these two brackets sitting in the garage, and this salvaged piece of wood, and lucky for me they both are the perfect size for an easy install shoe shelf! I attach the brackets to each end of the wall, and clean up this wooden shelf with a good sanding and some paint.


Add Practical Storage: Hooks!!
I may have hanging space (which is important), but I've got to be realistic, I'm not going to be able to get my husband to hang up his jacket every day after work, so hooks for him and the kiddies just seems like a smart move. I'll find some other hill to plant my flag. 
I'm not one to waste, and this closet already had three perfectly good hooks in it, so I just moved them to one corner of the closet. These are the perfect types of hooks to hold my husbands heavy jacket without it falling off. 


I also found these dandy little fellows on sale at Lowes! That made me happy since buying a ton of hooks can cost a pretty penny! (What's the deal with that??) These hooks are perfect for handling hats, scarves, keys, the umbrella, my purse, whatever needed before heading out the door in any weather. 


With a wall full of promising hooks, things are coming along nicely. I love that I get to have the best of both worlds... room for both bar hanging as well as hooks, shelves to store items, and plenty of space to organize the million different items my coat closet has to house. 

All these lovely hooks are high up out of the reach of the munchkins, but I have a fantastic idea for kid height storage I'll start on next!


Baca Selengkapnya ....
Trik SEO Terbaru support Online Shop Baju Wanita - Original design by Bamz | Copyright of wallpaper murals.