Creating An Ideal Coat Closet Layout
Jumat, 06 September 2013
0
komentar
Closet Accessories
Most people start a room with a piece of fabric for inspiration, or even a great piece of furniture. What do you start with for a coat closet? A nice coat? Well call me unconventional, but I find baskets inspirational for organization as well as design. I might have gotten a little lightheaded with happiness and excitement when I saw that these dark woven baskets from JoAnn Fabric store were 50% off! Then add a 30% off coupon from Michael's (an accepted competitors coupon that included sale items), and I was complete. I paid $2 and change each per basket, and I could just envision them set against a beautiful blue-grey wall on a shelf somewhere. Inspiration, set, match.

First Things First...
Clearing out this awful closet and simplifying is first on my list. Yep, that means donating old coats we never use. I was horrified to try on two of these coat and realize I couldn't even button it! Shucks, the hubs and I could stand to lose some weight, in the meantime, the coats can't stay here...I might as well be realistic, I'll never be 21 again.

Next a Coat of Paint...
No coat puns intended. *corny...roll of the eyes*
As usual I'm pinching my pennies, so I decided to dip into my "already haves". Some time ago I found two gallons of this Walmart paint in the 'oops/discount paint' section and snatched it up. It cost $8 (as opposed to the usual $16) per gallon, and I figured I could tweak the color if necessary. Now I had a place for it to go! (Ok, so I may have already used most of it in the master bathroom and garage...)

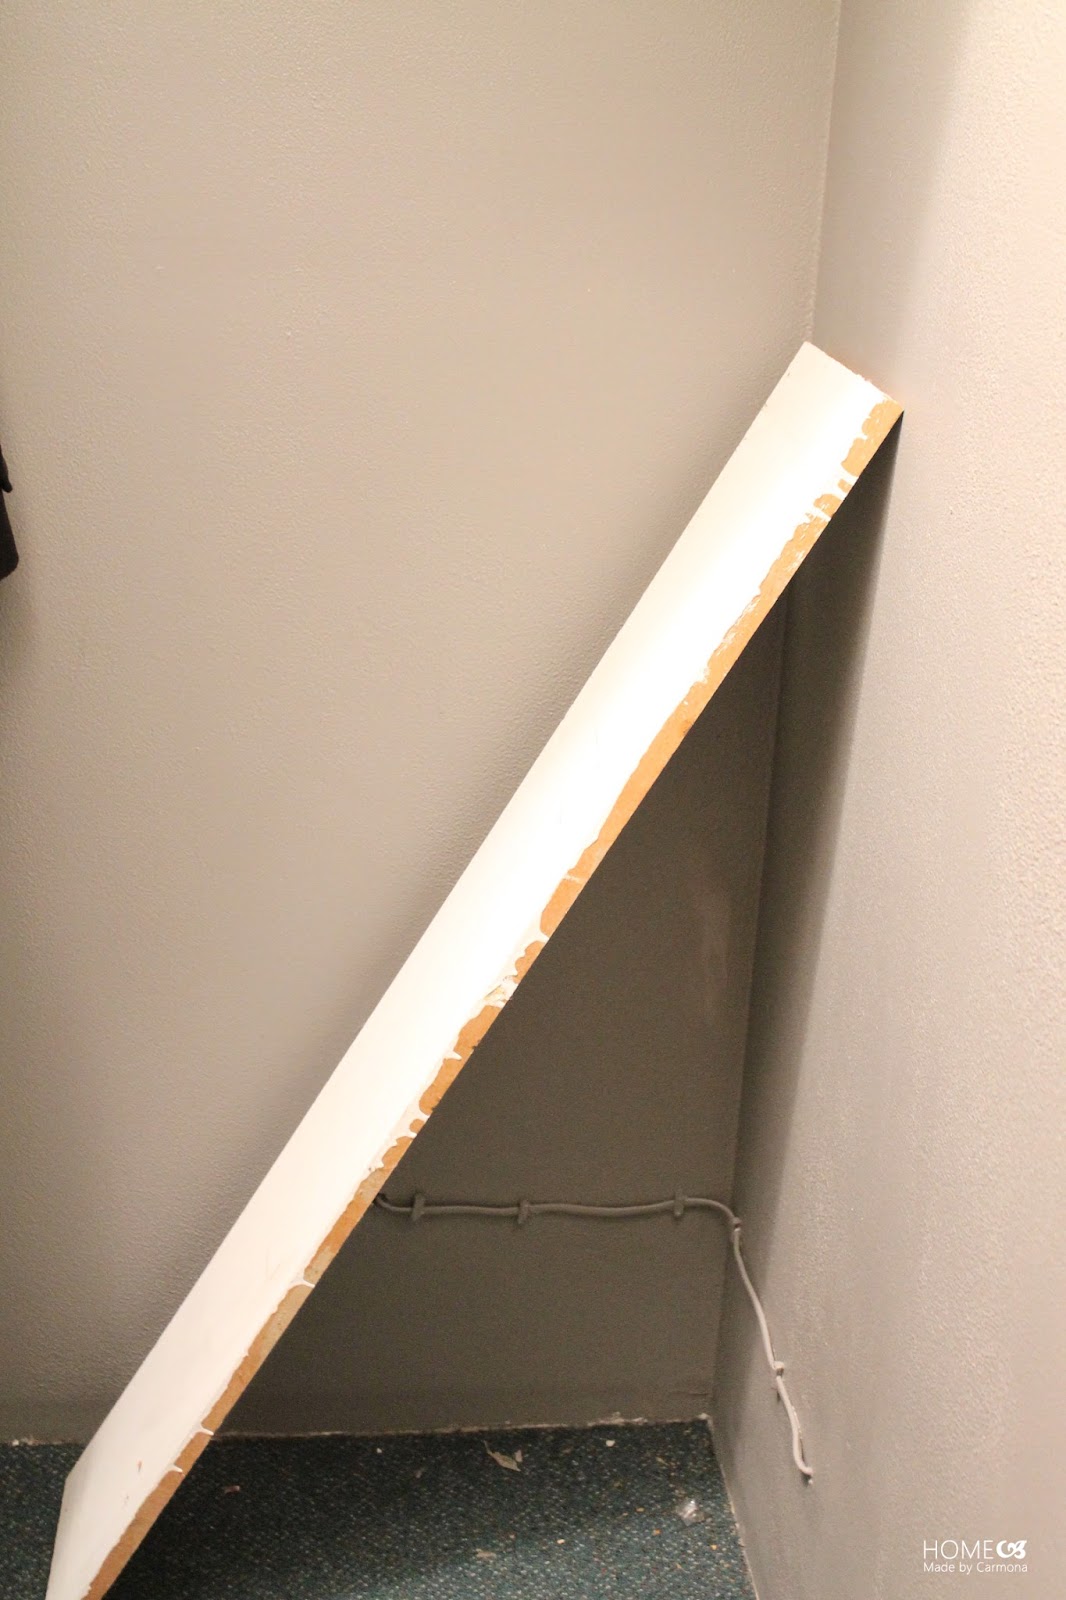
I wish I'd taken a better pic to show you the full paint job. I decided to paint the bottom 3/4 of the closet and leave it white above the shelf support.
An Effective Layout
I hate how things seem to get lost in the coat closet Bermuda triangle of doom. The double wide, double deep shelves above my hanging bar cause items to disappear into the murky darkness behind, never to be seen or heard from again. Ok, maybe a bit melodramatic, but you get the idea, if I can't see or reach the stuff that gets pushed to the back of the shelf, then it isn't organized. At a minimum, I need to be able to see what is back there.

My solution? Remove one of the two shelves that make it deep, and relocate it to that useless space looming above. At least now I can store items never used where I can see and remember they are there.

I added two wooden supports to either side of the closet to hold up the new 2nd shelf above. I may have cut corners a little...no, I mean literally cut corners. See how the wood doesn't actually reach the back wall? A hazard of using leftover wood from other projects. However, I tested it extensively and determined it would do the job more than adequately. A coat or two of white paint finishes up my new shelving.

Shoe Shelf
Of course, shelves above are fantastic, but lets not forget the shelves below. A great spot to stack shoes, always necessary in my house!
I happen to have these two brackets sitting in the garage, and this salvaged piece of wood, and lucky for me they both are the perfect size for an easy install shoe shelf! I attach the brackets to each end of the wall, and clean up this wooden shelf with a good sanding and some paint.


Add Practical Storage: Hooks!!
I may have hanging space (which is important), but I've got to be realistic, I'm not going to be able to get my husband to hang up his jacket every day after work, so hooks for him and the kiddies just seems like a smart move. I'll find some other hill to plant my flag.
I'm not one to waste, and this closet already had three perfectly good hooks in it, so I just moved them to one corner of the closet. These are the perfect types of hooks to hold my husbands heavy jacket without it falling off.

I also found these dandy little fellows on sale at Lowes! That made me happy since buying a ton of hooks can cost a pretty penny! (What's the deal with that??) These hooks are perfect for handling hats, scarves, keys, the umbrella, my purse, whatever needed before heading out the door in any weather.

With a wall full of promising hooks, things are coming along nicely. I love that I get to have the best of both worlds... room for both bar hanging as well as hooks, shelves to store items, and plenty of space to organize the million different items my coat closet has to house.
All these lovely hooks are high up out of the reach of the munchkins, but I have a fantastic idea for kid height storage I'll start on next!
TERIMA KASIH ATAS KUNJUNGAN SAUDARA
Judul: Creating An Ideal Coat Closet Layout
Ditulis oleh sew4tejhtr6ier
Rating Blog 5 dari 5
Semoga artikel ini bermanfaat bagi saudara. Jika ingin mengutip, baik itu sebagian atau keseluruhan dari isi artikel ini harap menyertakan link dofollow ke http://wallpaper-murals77.blogspot.com/2013/09/creating-ideal-coat-closet-layout.html. Terima kasih sudah singgah membaca artikel ini.Ditulis oleh sew4tejhtr6ier
Rating Blog 5 dari 5
Categories:
"During" Project


0 komentar:
Posting Komentar