October Highlights & Happenings

Posted by sew4tejhtr6ier Kamis, 31 Oktober 2013 0 komentar
Goodness, I blinked and October was over! I'm not sure I'm ready for the holiday season, I still have about 50 other projects I thought I'd have complete before the holiday guest rush! 

Last Little Bit Of Harvest
Well, if cold weather wasn't official before, it is now! Not only have the leaves turned gorgeous yellows and reds, but sunny 
days here in Northeast Ohio have had quite a nip to them. I rescued the last of my garden harvest before turning it over for my winter crops. I picked the last of my peppers, summer lettuce, and tomatoes right before the first snow hit! Can you believe it? It iced everything over before I realized it was expected. I'm getting ready to cover my raised deck beds with the tarp cover, mulch and cover my container garden for the winter.


I have been thinking about planting some bok choy, and a few other cold weather crops... it will be a first for me, so I'll have to do a bit of reading up! Do you winter sow? What are your favorite winter crops?

FAQ's
I've been getting a lot of emails asking for advice on organizing and DIY, so I thought I'd share a few of those Q & A's with you, perhaps it will answer a question you have. 
On a side note, you have all been so lovely and supportive in your comments and emails! You have encouraged me, and brought a smile to my face during the tough times! I just wanted to let you know.

Q. "I want to be organized and tidy, but I don't know where to start! I feel overwhelmed every time I look around my house. Help!"
A. Oh honey, I feel your pain! I have not yet "arrived" (whatever that is!), and I have often felt that way in the past. Rather than looking at the whole mess, and trying to tackle it all at once, take it one bite size at a time. I move through my house small space, by small space, and I don't organize a new space until I have figured out what works for me and the kids to keep it comfortably tidy (maybe not perfect, just tidy). Start with that one thing that makes you tick most. Maybe you sigh when the kids drop their coats on the floor by the front door after school and you hate that the pizza guy see's a messy entry. Buy a coat rack, tell the kids "we are no longer throwing coats on the floor, it goes on the rack", remind/practice/enforce/reward consistently until it becomes a habit for all. Then move to the next thing that makes you tick!

Q. "It seems like all these bloggers have a husbands to build stuff for them...I noticed you seem to build things yourself. I'm a single mom and I want a lovely home too! Is it even possible to DIY alone?"
A. Absolutely! I'm sure it is wonderful to have second pair of hands to help, but not everyone has that luxury. My darling husband is not in the least bit handy, so I opt to go it alone. It just means you have to be a little more creative about how you accomplish projects... I suggest good set of clamps. Oh, and if you ever feel like you're missing out, just remember that you don't have any unwanted input, you get to make all the design decisions yourself! *grin*

Q.  "I think I am ready for the big step [organizing]. The only concern I have is: will I still be able to live freely? ...I'm a bit afraid to live in a museum and to be too stiff".
A.  I am messy by nature. It is the reason I have to organize my spaces so carefully... I try to put things in such a way that it is easy for me to keep it that way. So no, I don't think organizing should make your life stiff, if anything it should make you more free, and happier with the outcome. If one way makes life difficult, try a different way that works with how you operate.

The Ongoing Projects
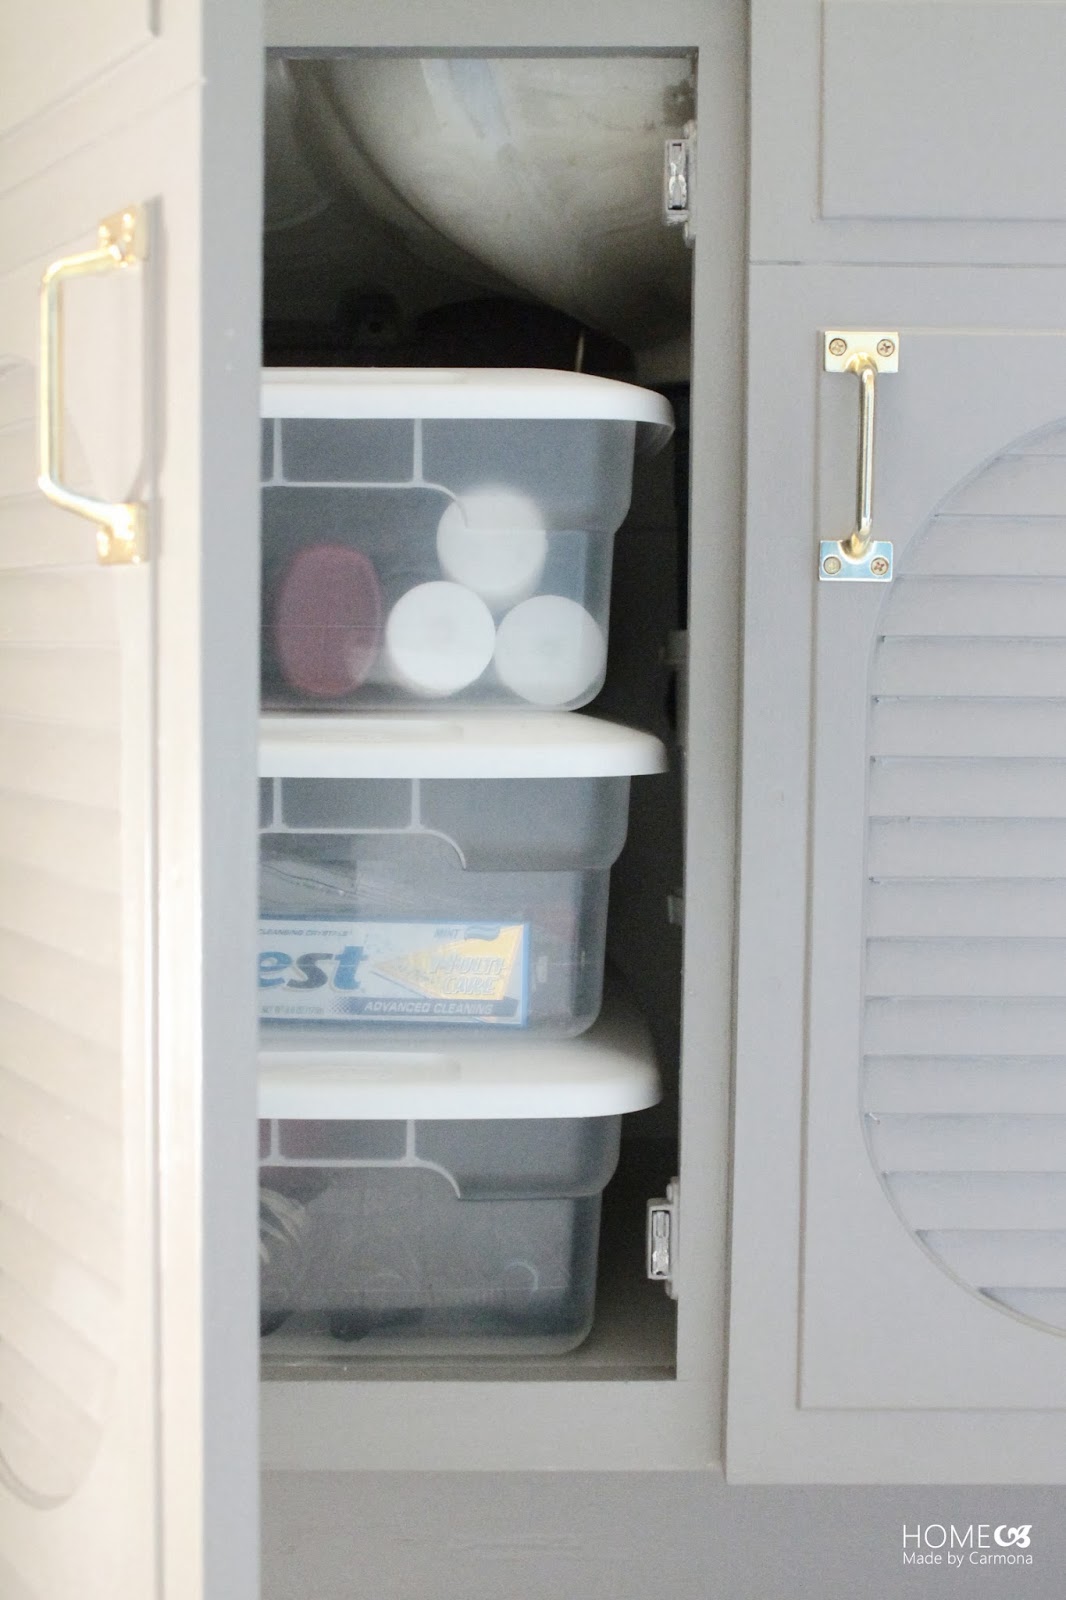
My bathroom projects are spilling over into the month of November, but that is because I'm determined to hit two bathrooms with one stone (or splash of paint). The powder room is pretty straight forward, but the real task is the girls bathroom. Here are a few projects I have already accomplished to that end...

HOW TO STAIN A BASKET
click here to read more

Can't find baskets in the shade you love? Stain it!

DIY GOLD PAINTED BOWLS
click here to read more

Add a little sparkle with DIY decorative painted bowls!

RECESSED BATHROOM STORAGE
click here to read more

See the before and after of this storage space!

The plan is to finish the bathrooms before the holiday rush, so look forward to some reveals in November! 


Baca Selengkapnya ....

Recessed Bathroom Storage

Posted by sew4tejhtr6ier Selasa, 29 Oktober 2013 0 komentar
I hate wasted space, so the idea of using the wall space behind the shower as recessed storage I find brilliant! The application of my particular space, not so brilliant. I'm afraid this space needed a little de-uglify-ing, and a quite bit of organization. What do you think?


While I was initially happy to have storage space behind closed doors, and I think the creative idea of using shutters as cabinet doors is fantastic, I'm afraid these doors aren't doing the job. Sadly they were not installed very well, so one cabinet door keeps banging against the bathroom door, while the other only occasionally stays closed. I think each and every member of this family has banged their head on that cabinet door at least twice. *wince* Time to remove these obnoxious things.


Some jobs are easier said than done... the doors are finally removed after many days of chipping paint off screws, then crying and gnashing of teeth trying to remove the stripped screws! I was not pleased with the condition of the wood trim, but I can't seem to remove the trim without causing cracks in the walls! Because of the way in which these shelves and trim have been installed, I've decided I can't risk damage by removal, and I will just have to make the best of it. I'm adding a little extra trim to the shelves, chipping and smoothing as much old paint as possible, and giving it a fresh coat.


I admit I am still not pleased with the trim, but a paint job will help freshen things up a bit. The blue-grey paint is the same used on the Painted Vanity to bring some continuity to the space. A few more coats of white paint on the trim, and I'll be ready to organize!

If you are going to have open storage, it has to be pretty as well as practical. In my opinion there is no prettier (or more practical) storage solution than baskets. I have quite a few items that I need to organize and stored in this bathroom, so I'm going to need a few good baskets.


Why are baskets so expensive? I'm seriously considering a weaving class. Thankfully I got a half decent deal on some large baskets at Kohls that fit perfectly....and just! You know how I am about coupons (it's a full-on love affair!), so you can't imagine my glee when I found one coupon for $5 off any Kohls purchase of $5 or more, and Kohls $10 off coupon!! Combining high value coupons with 70% off sales = 3 large baskets and a very happy me! 


I also wanted a few smaller baskets in a similar dark shade for the girls to store smaller easy grab items such as their hair brushes, soap, and wash cloths. I couldn't find any, but I did stain a few baskets which worked perfectly! These little baskets made the perfect 'easy grab' storage for hair brushes, soap, and wash rags. 


Of course, baskets don't hold the market on storage. I also love kitchen gear in just about any room used as storage. I've used jars, serving trays, cups, and now bowls as storage! These spray painted bowls hold hair bands and nail clippers in easy reach of the kids, and the higher up bowls hold cotton balls, nail & foot brushes, bath fizzers, and more!


I'm so happy everything fit back in this bathroom I could cry. A little dramatic? Yeahhh, I really hated the storage before. Now, I did store a few of these containers under the painted vanity, but other than that, everything fit perfectly (with room to spare) in the recessed storage area. As a matter of fact, I had so much room to spare, I didn't know what to do with the extra shelf space...well this is a first! 


So, what do you think of the open recessed storage now?


Baca Selengkapnya ....
Posted by sew4tejhtr6ier Senin, 28 Oktober 2013 0 komentar


just b/c it's monday and sometimes we need something pretty to start our week......
or this had me rolling if you need a good laugh :)

Baca Selengkapnya ....

The Golden Touch...Storage Bowls

Posted by sew4tejhtr6ier Jumat, 25 Oktober 2013 0 komentar
I've always been a brushed chrome girl...until now! 
Deciding not to replace the pretty gold fixtures in our upstairs bathroom was the best decision I ever made for that space! Now I'm falling head over heels in love with gold, an affair I may not soon get over.


A month ago I purchased Krylon metallic gold spray paint with the idea to paint these awesome bowls I found at Goodwill for $1 each. I love the orange, but since I'm going for gold accessories for my upstairs bathroom, the orange has to go.


Well, lo' and behold I see the most beautiful image on Pinterest of gold sprayed mugs by Garland of Grace blog *swoon*. I literally yelled out loud "hey I did that too!". I don't usually read tutorials (what with my aversion to directions), but I couldn't peel my eyes away from that tutorial because of the gorgeous photos! I wish I had run across it before I completed my bowls, apparently I made the same set of mistakes she did *giggle*... great minds, and all that...


I have three medium bowls and three small bowls. The three large I taped off to paint the inside (with just a hint of the rim exposed), and the three small I created designs using painters tape before spraying. 


When I peeled the tape back after it dried, I got a little bit of a rough edge...so definitely peel it before it has dried completely. I find that I kind of like a little bit of "rough edge", but only slightly...  Here's a great little tip I stumbled on 5 bowls later. To get slightly blurred edges, remove the tape before it dries completely, then spray the clear sealant right away. The force of the clear spray causes the edges to "bleed" slightly if the gold paint is heavy and still wet. It makes for a neat effect! 


I am looking for pretty ways to store practical things in the bathroom, and I'd say these bowls are it! Nail clippers, hair bands, soap, floss, you name it...


Remember, once you spray the inside of these bowls, they become purely decorative.
Whether you use these decorative bowls as storage in a bathroom space, or in any other space in your home, every home needs a little golden touch!


Baca Selengkapnya ....
Posted by sew4tejhtr6ier Kamis, 24 Oktober 2013 0 komentar


Sat. night my phone rang at 10:00...when i saw dad's cell on my phone i panicked and immediately thought something's wrong.... my dad does not call at 10:00 at night (actually no one calls at that time since i reached my 30's and had kids ha!).  when i answered the phone it was super loud and my dad was yelling "shannon do you hear this?!!"  i realized he was at a concert w/ my brother and he was excited about a song that was playing.  it put a smile on my face that he thought to call me.  i didn't want him to know that all i heard was yelling and nothing that resembled music.  i get my love for music from my dad.  he listens to songs he loves loud and over and over again.  whenever we are together he likes you to listen to the songs he's discovered.  it's cute and i realize i do the same thing....so here's my suggestion of the week (dad i think you'll like it).

Baca Selengkapnya ....

How To Stain A Basket

Posted by sew4tejhtr6ier Selasa, 22 Oktober 2013 0 komentar
Are you reading this title asking why in the world you would ever need to stain a basket? Yeah, I know, we typically look for that finished product that already matches all our criteria. Which means our baskets are already perfectly stained.
Well I have been looking for the perfect small basket that will match the large dark stained ones I found for my upstairs bathroom, but to no avail! Then it occurred to me, why limit my search by looking for the perfect shade when I can create that shade myself?


After my "oh duhh" moment I realized that I already owned the perfect baskets for the job...and while I love the beautiful bleach tint, I needed these baskets to blend with the dark shades I had already chosen for my bathroom space. 


So when you want to pinch those extra pennies, look around your house at what you already own, or perhaps feel more free to search the thrift stores and craft store deals for that perfect shape and texture, knowing that you may be able to tweak the stain. Look for baskets without a hardened enamel-like coating, and haven't already been painted...these are not ideal for staining (although not impossible). Consider painting these types of baskets, or giving them a good sanding before staining. Your ideal baskets are those with a textured or grass-like material, these absorb stain without any prep work. 

Materials
  • Gel stain
  • Small - medium paint brush
  • Rag
  • Disposable gloves
  • Wipe-on polyurethane
Make sure you have adequate ventilation for this project. While the staining only took me 8 minutes per basket, this project takes several days for the stain and finish to set, so find a covered outdoor space or garage where you will have good ventilation, and you can leave your baskets to dry multiple nights. 


Step 1. Use a cheap stiff bristled paint brush to apply the stain. A rag won't do it...you will definitely need that paint brush to get in all the cross-over grooves, just use a dabbing action to punch stain into the grooves. Be sure to use a brush you can throw away when you are done. 


Step 2. Use a rag to wipe off the excess stain. Getting the desired tint or shade all depends on how much you apply, how long you leave it, and how much of the stain you wipe off. 
After applying and wiping off the excess stain on all sides (including the inside), and you are satisfied with the results, allow it to dry for 12 hours. 


Step 3. Finally seal your stain using a wipe on polyurethane. I used a thin coat of Minwax clear gloss wipe-on poly. You only need one thin coat of poly wiped on with a rag. Allow it to set for at least 72 hours before using it. Then enjoy your perfectly stained basket!


Baca Selengkapnya ....

The Painted Vanity

Posted by sew4tejhtr6ier Jumat, 18 Oktober 2013 0 komentar
The vanity in my girls Jack & Jill bathroom could use a little pick-me-up, and after looking into my budget I've decided that a "pick-me-up" is the best its going to get. Yep, I'm pinching my pennies as always...well I've only got nine other spaces I want to makeover! *chuckle*
No worries, I've seen the power of paint, and I have a little leftover paint from the coat closet makeover that wants to be used in a space where daylight can hit it. 


Sad Little Vanity Before
This vanity has been painted before, and no apparent finish added so that makes this a straight forward paint job, without the need to sand or prime. Sadly, they painted over the hinges...which try as I might I could not remove without damaging the vanity. Oh well, painted hinges it is.


My Paint Treasure!
The only real prep work I am doing is filling the holes where the previous handles were. Painting is a breeze, and I'm still loving this color even though I did not choose it. Apparently someone didn't love it, because I found it in the "oops" section at Walmart marked waaaaay down! One man's trash...


To protect my new paint finish from spilled toothpaste, kids dangling feet, and whatever else my little people can throw at it, I'm finishing this baby with several coats of a polycrylic finish. Lets be realistic, I need to be able to wipe this vanity down at least once a week. And while I'm painting, the inside needed some serious freshening up with bright white paint.


The Golden Bells & Whistles
I have always opted for brushed chrome finishes, but this bathroom was already outfitted with gold fixtures...which really lacked luster in this bathroom before. When the faucet broke I thought perhaps this was my opportunity to change out for a little silver. Then again, the shower curtain bar, the toilet paper holder, and the glass shelf are beautiful fixtures...maybe it's time I embrace the golden bells and whistles and work it!


Never mind conventional cabinet pulls, I love the style of these Gatehouse brand pulls from Lowes. It doesn't hurt that they are cheaper than traditional pulls!


To add a little extra something-something I decided to frame out the door edges with these brackets which I hope to repeated either on framed art and/or elsewhere in the bathroom. 


Speaking of golden accessories, I am SO thrilled to have inherited this awesome little piece! I have no idea where the previous owners got it from, but I just love this eclectic and oh-so-helpful hand! 


The Painted Vanity
It may not have been in my budget to replace the vanity or the sink, but that doesn't mean I couldn't have something lovely. What do you think? Is the power of paint enough for now?


Baca Selengkapnya ....
Trik SEO Terbaru support Online Shop Baju Wanita - Original design by Bamz | Copyright of wallpaper murals.